Search for articles...
Search for articles...
This article explains how to invite a new user to your project.
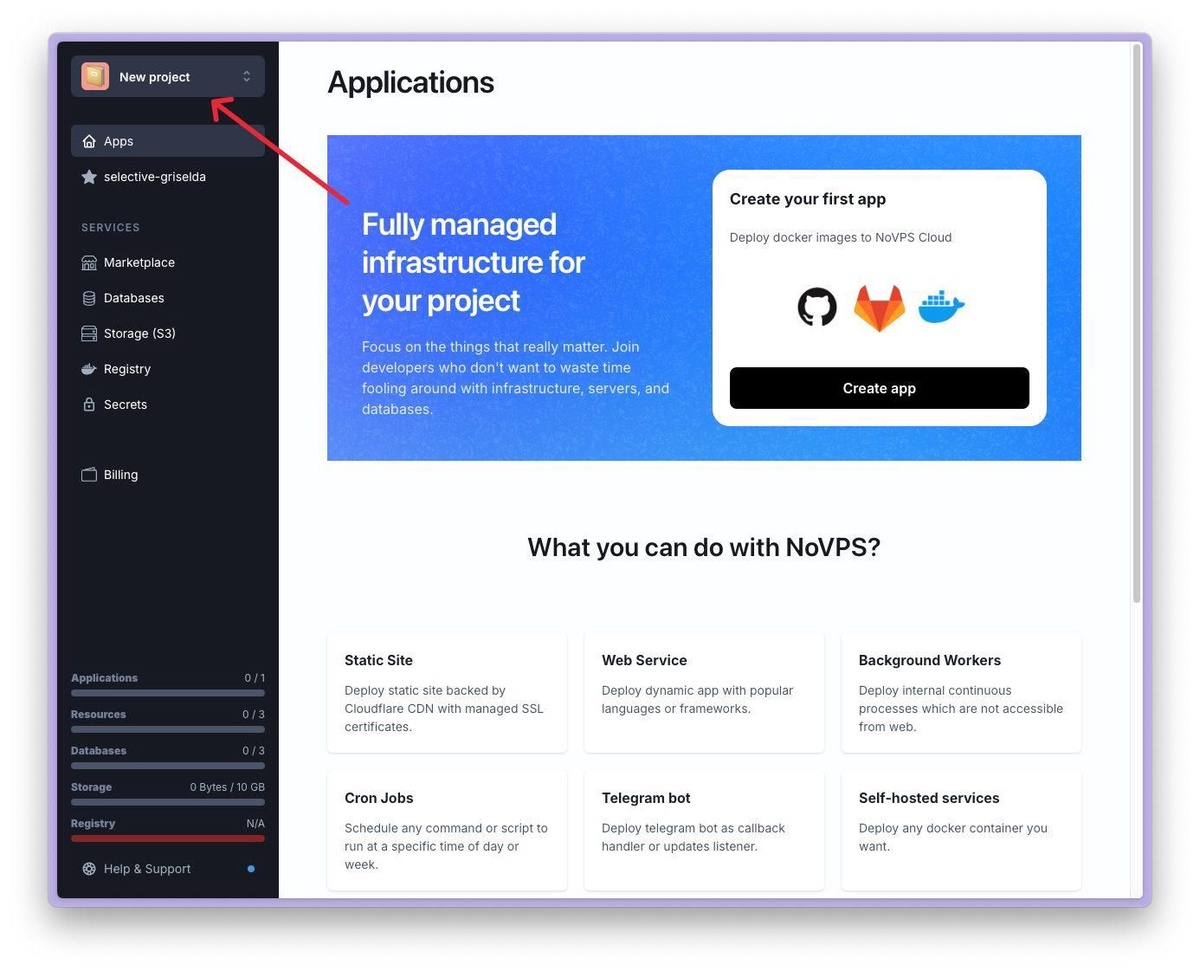
1. Click on the project selection menu in the upper left corner.
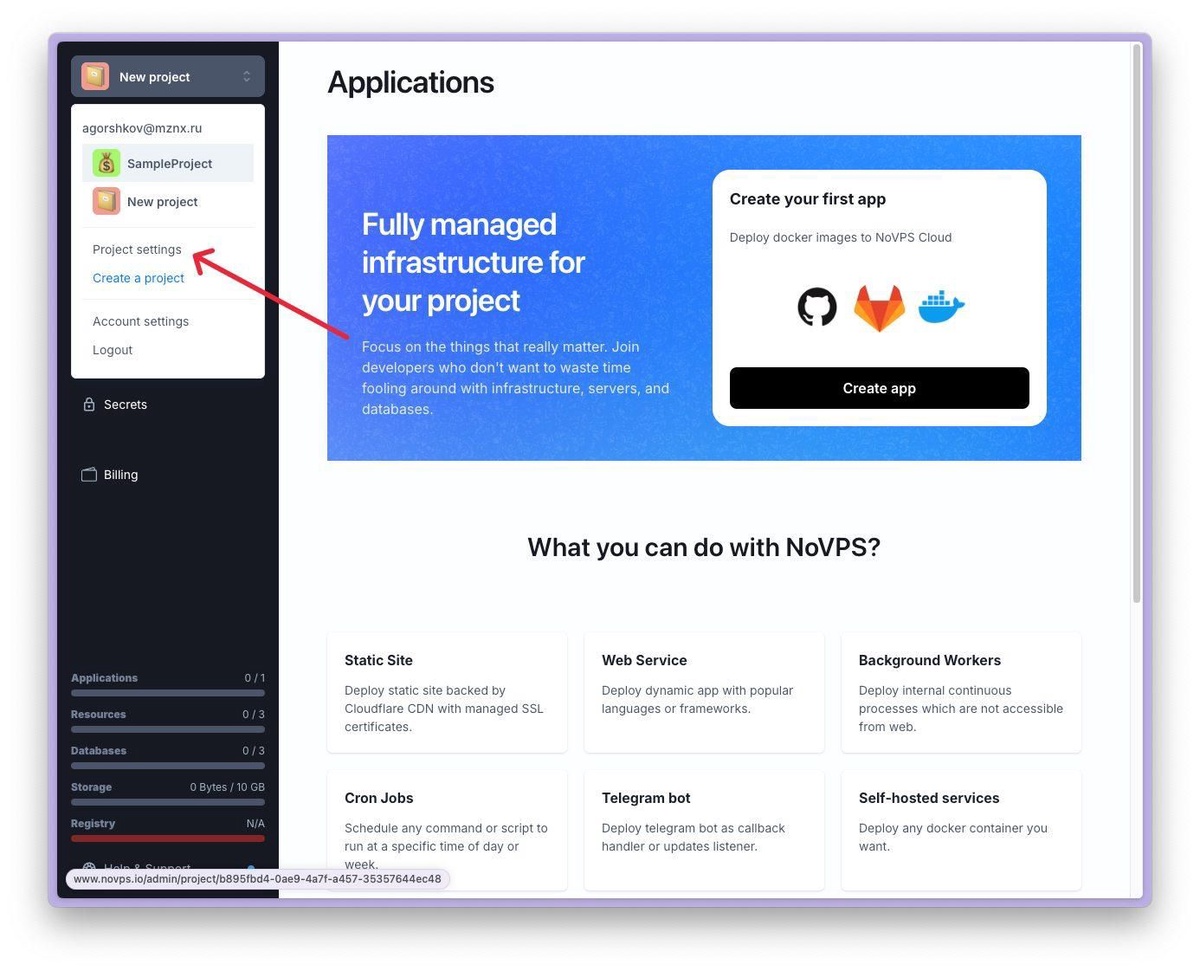
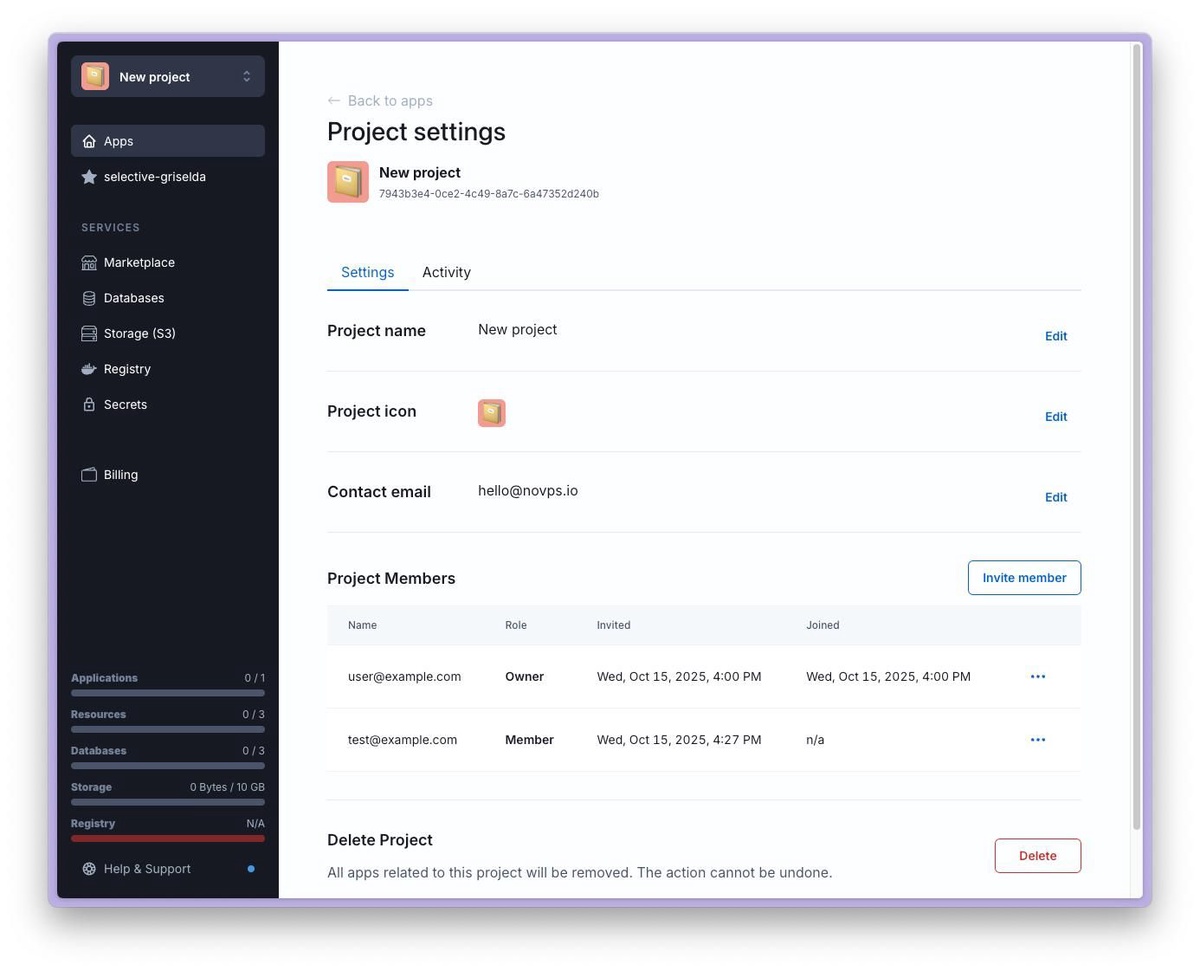
2. Select Project Settings from the drop-down menu.
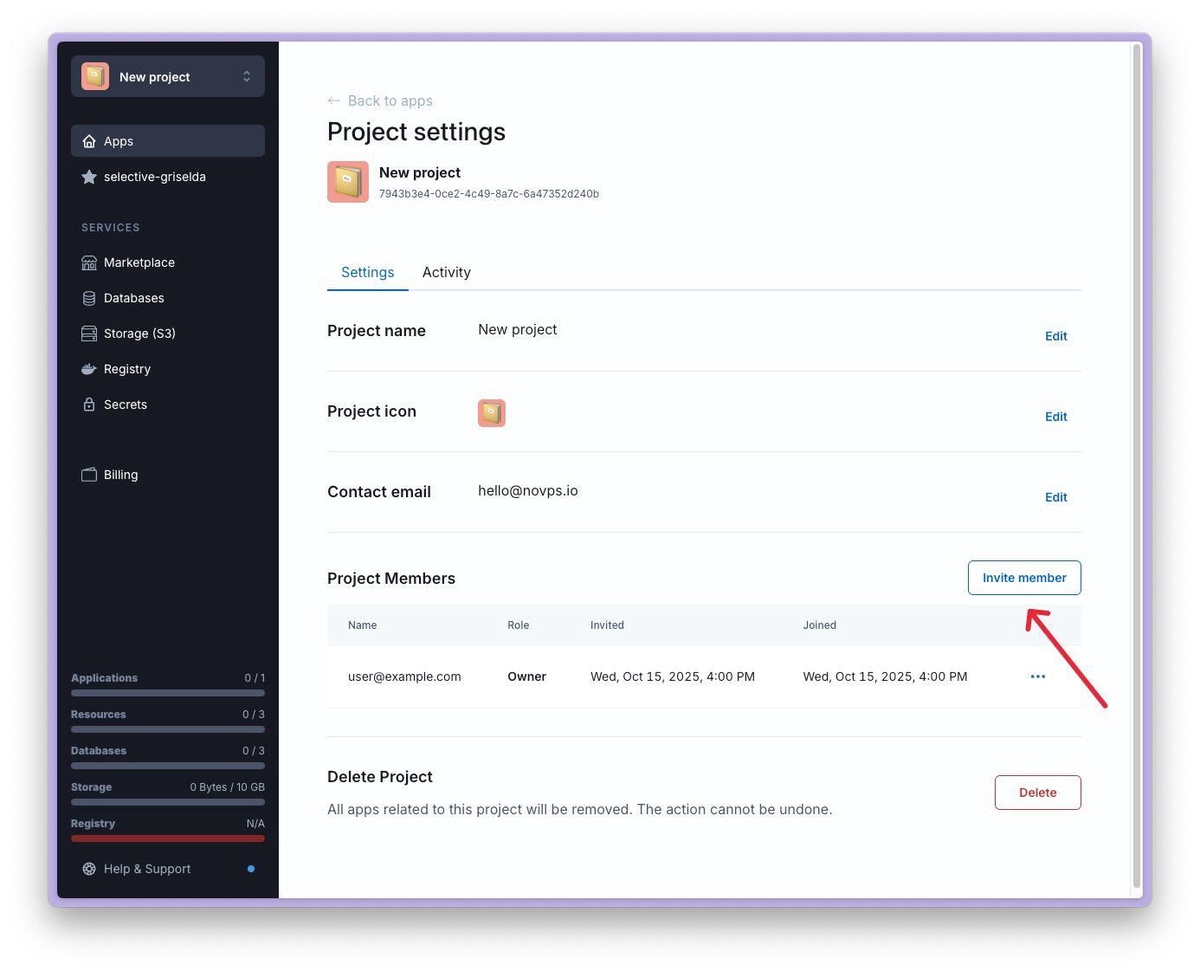
3. On the project settings page, click the Invite member button in the Project members section.
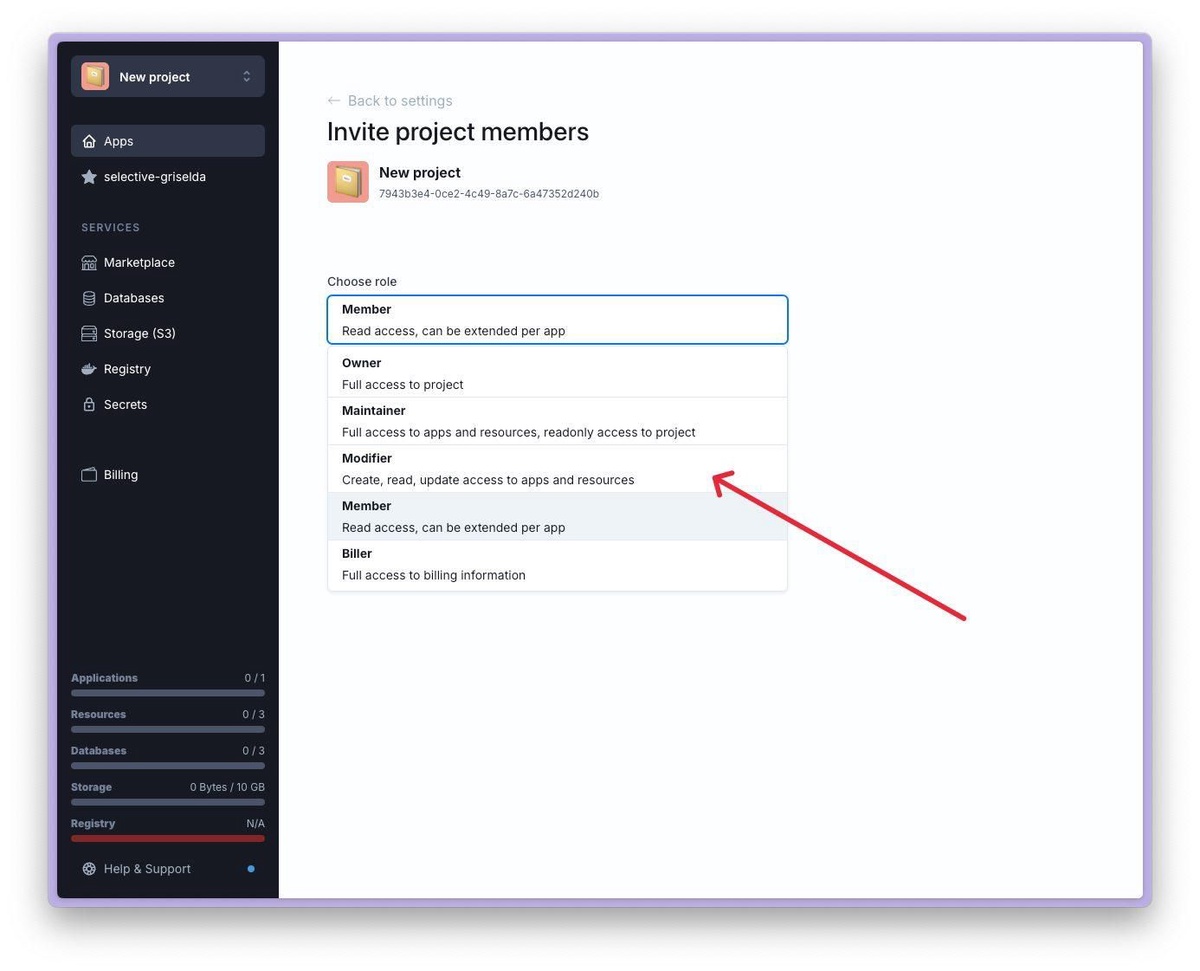
4. On the page that opens, select the role of the user you want to invite. To do this, click on the Choose role field.
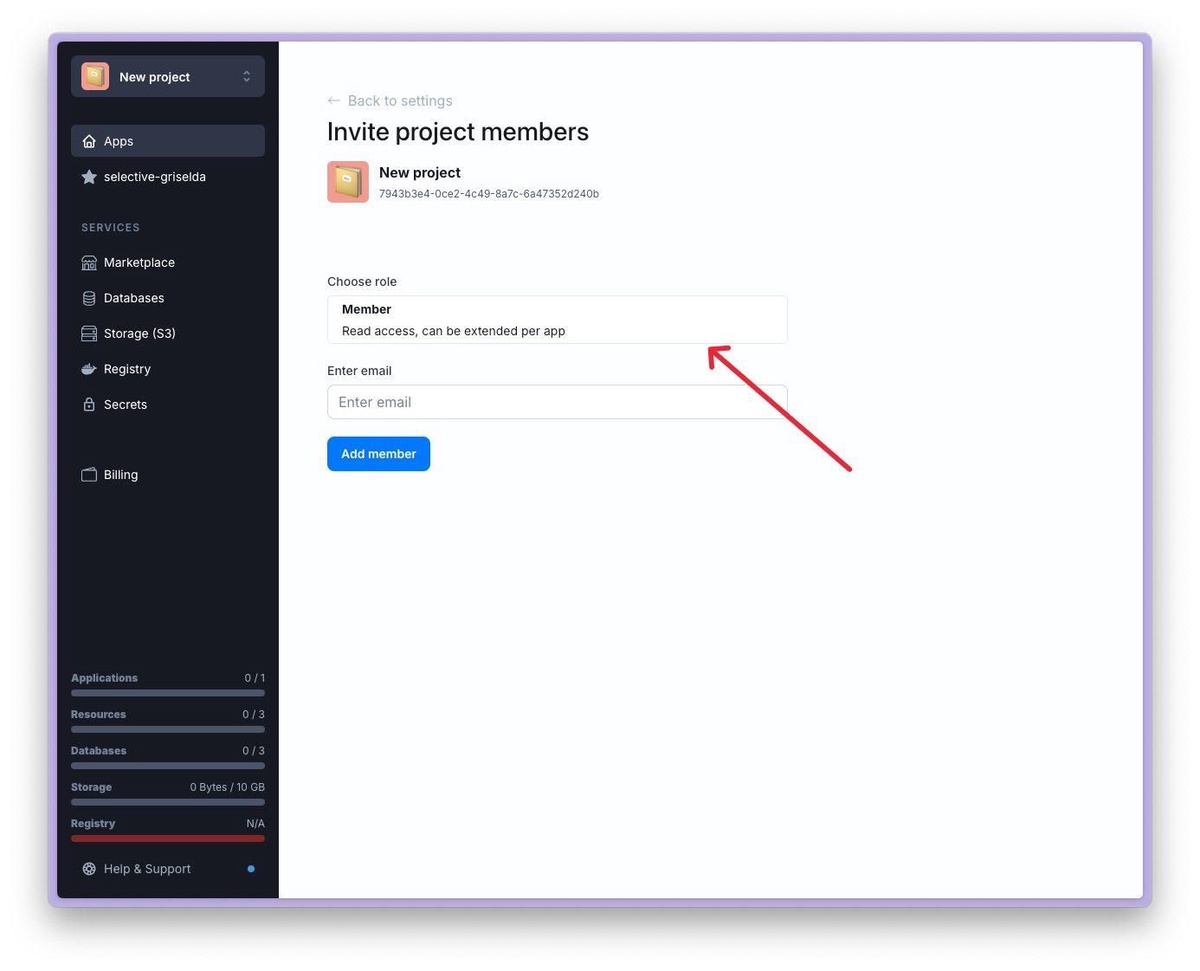
5. After selecting the desired role, enter the email address of the user you want to invite.
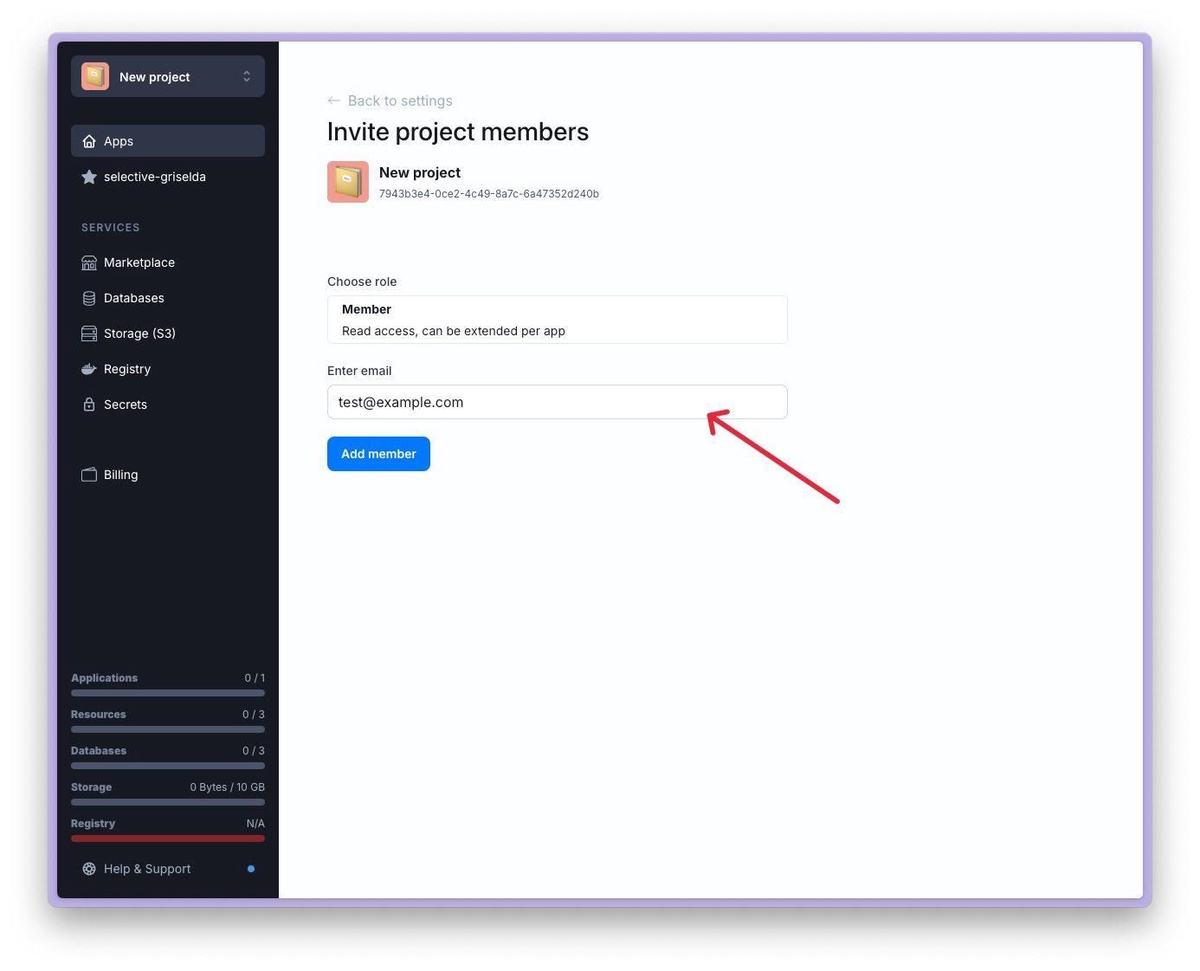
6. Click the Add member button. After that, information about the invitation should appear below the button.
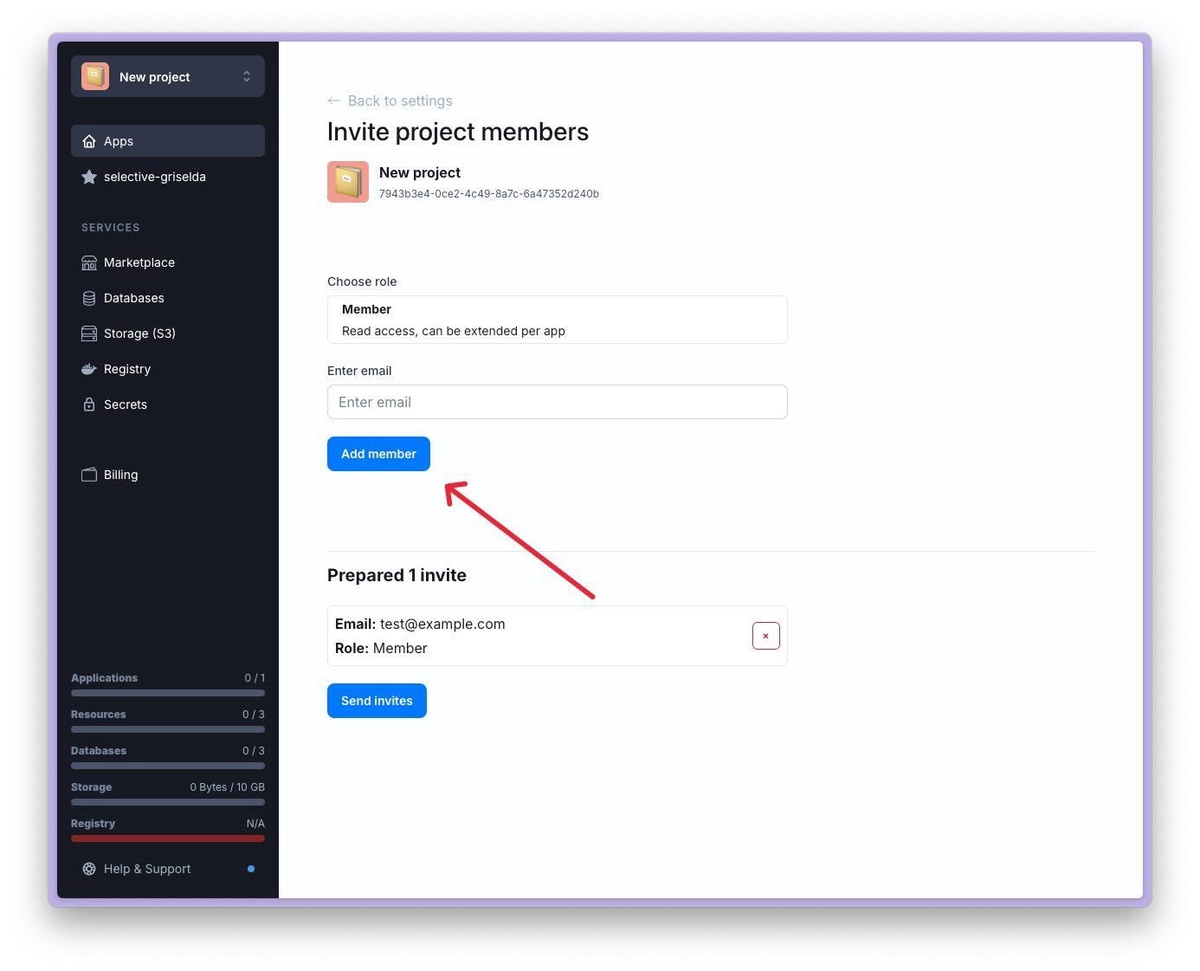
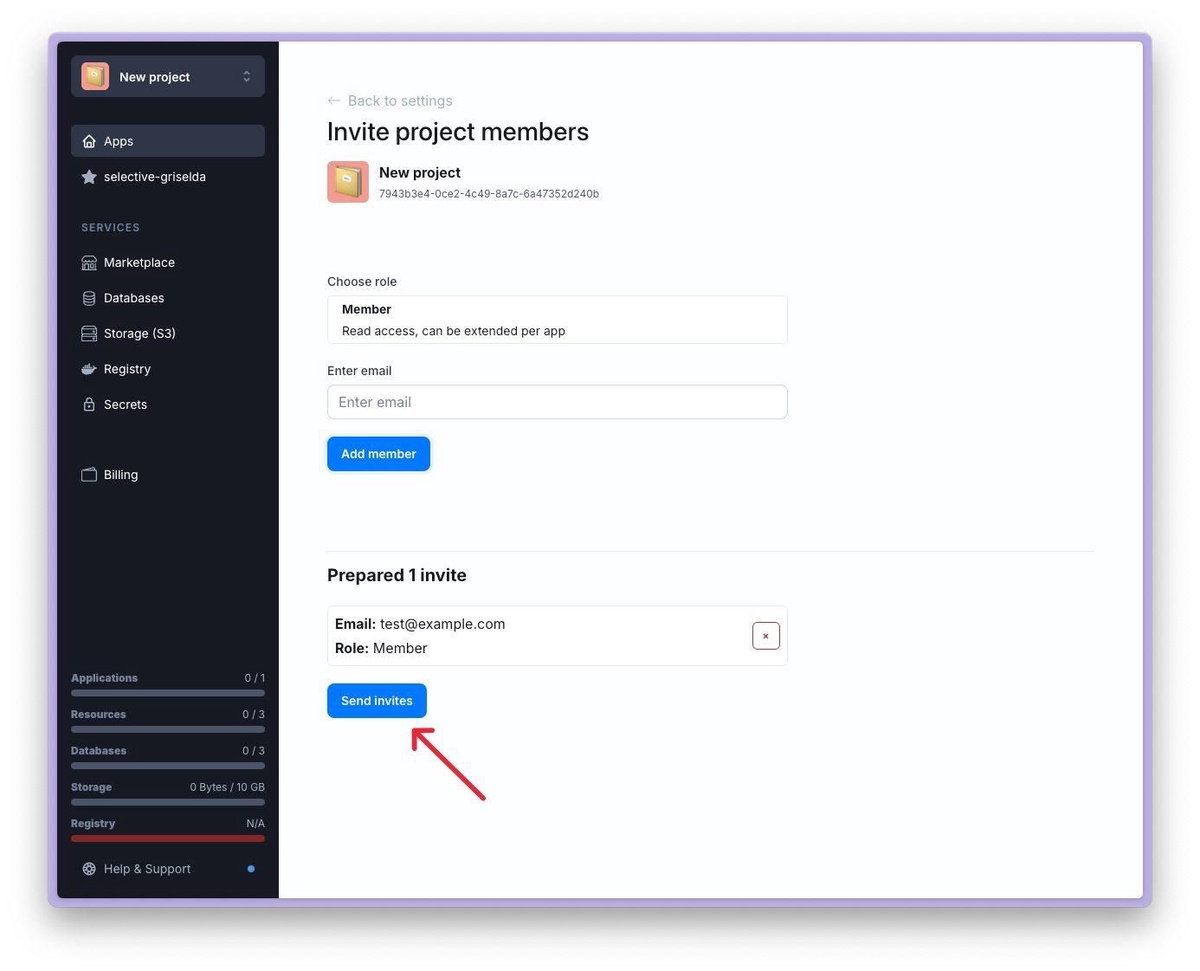
7. Now you can add another user or confirm the addition by clicking the Send invites button at the bottom of the screen.
8. If you have done everything correctly, you will see a message stating that the invitations have been sent successfully.
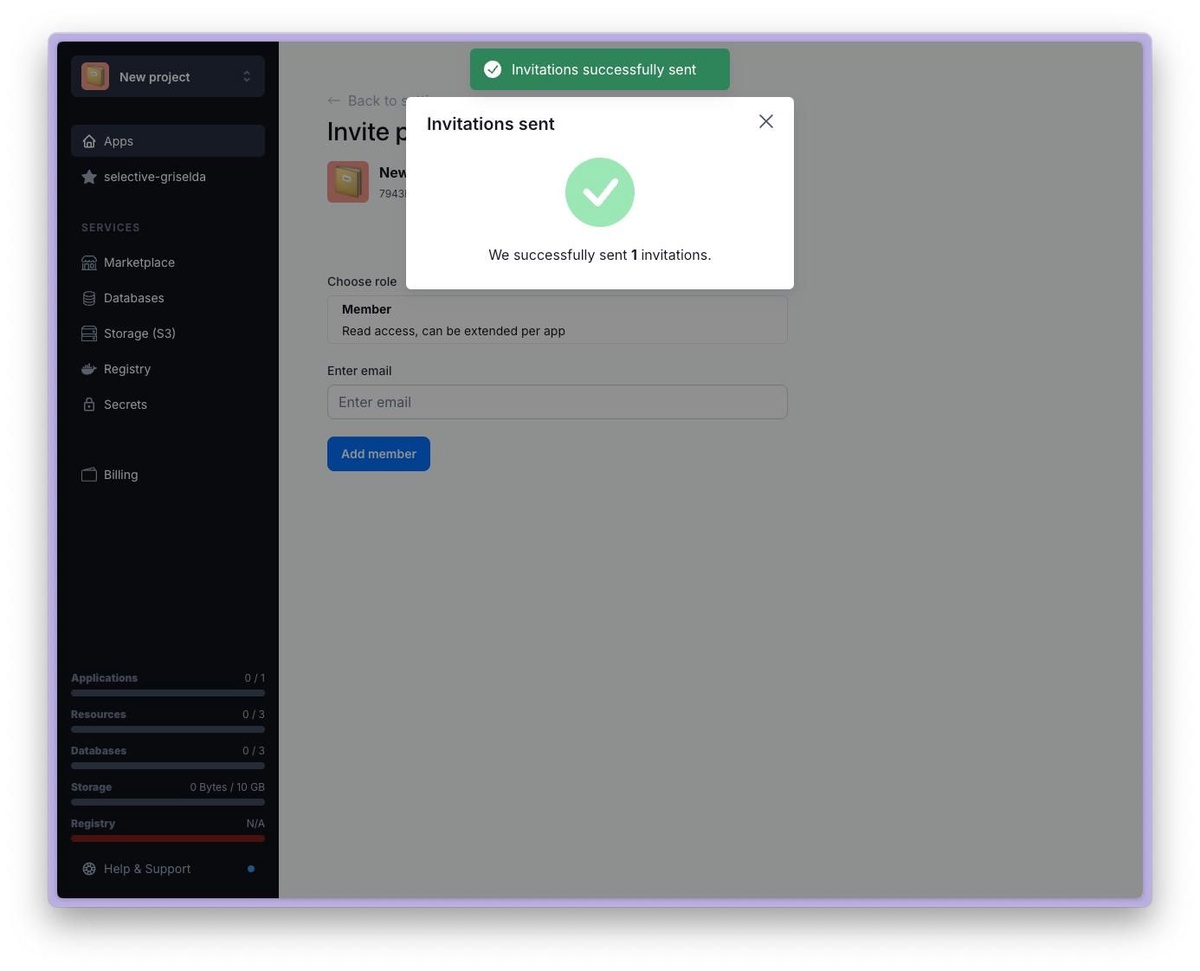
9. You can close the window that appears and return to the project settings page. Here you should see the invitation you sent (but which has not yet been accepted).
Understanding Projects
Projects in Novps are the foundation of how your applications and resources are organized within the platform...
Pricing
Comparison table of tariff plans
Ownership and Access Control
Short description of project ownership and access control
How to create new Project
Step-by-step instructions describing the process of creating a new project