Search for articles...
Search for articles...
Step-by-step instructions on how to create a PostgreSQL database and obtain connection details in NoVPS
To create a PostgreSQL database on the NoVPS cloud platform, you need to create an account and have a Project. If you need step-by-step instructions on how to create a project on the NoVPS cloud platform, you can find them here.
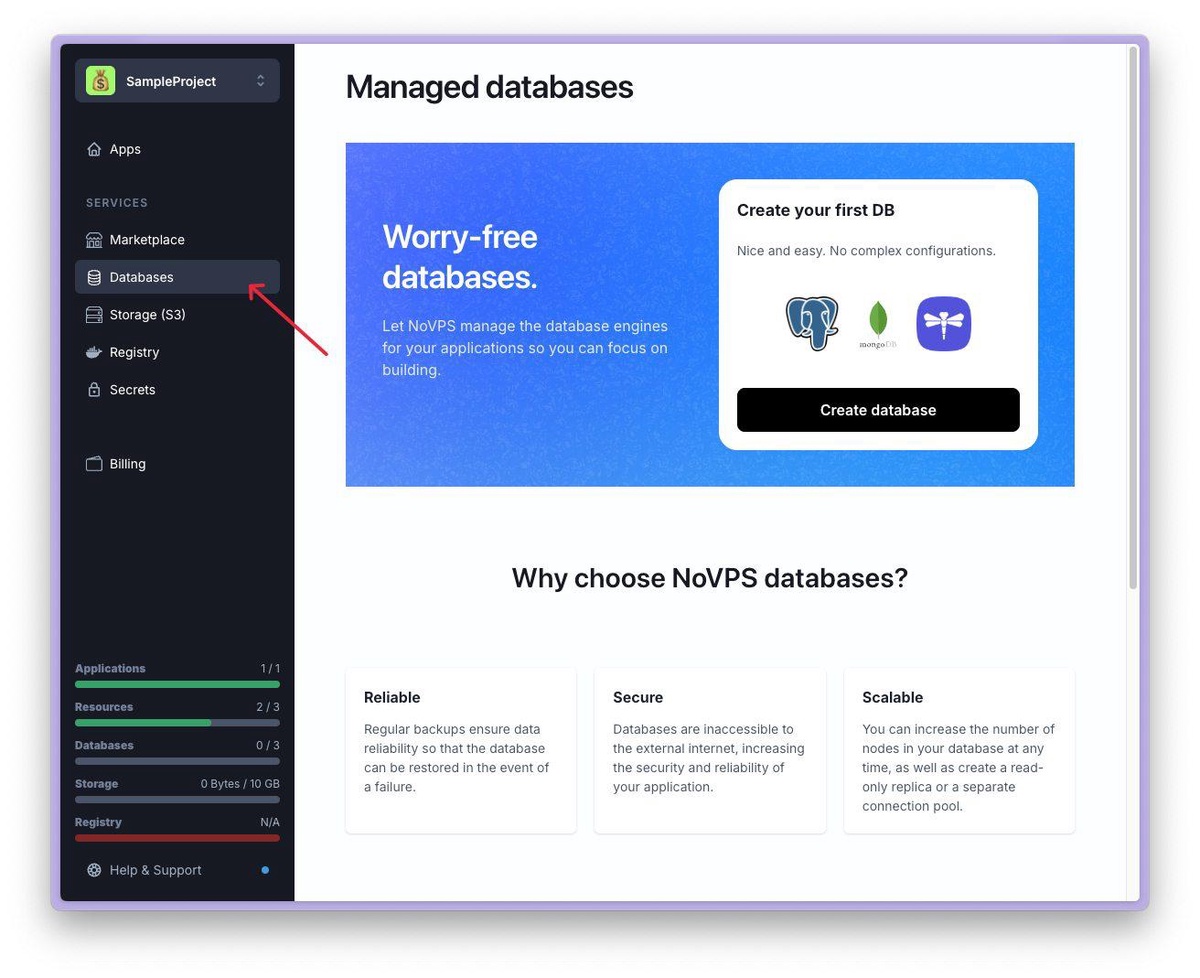
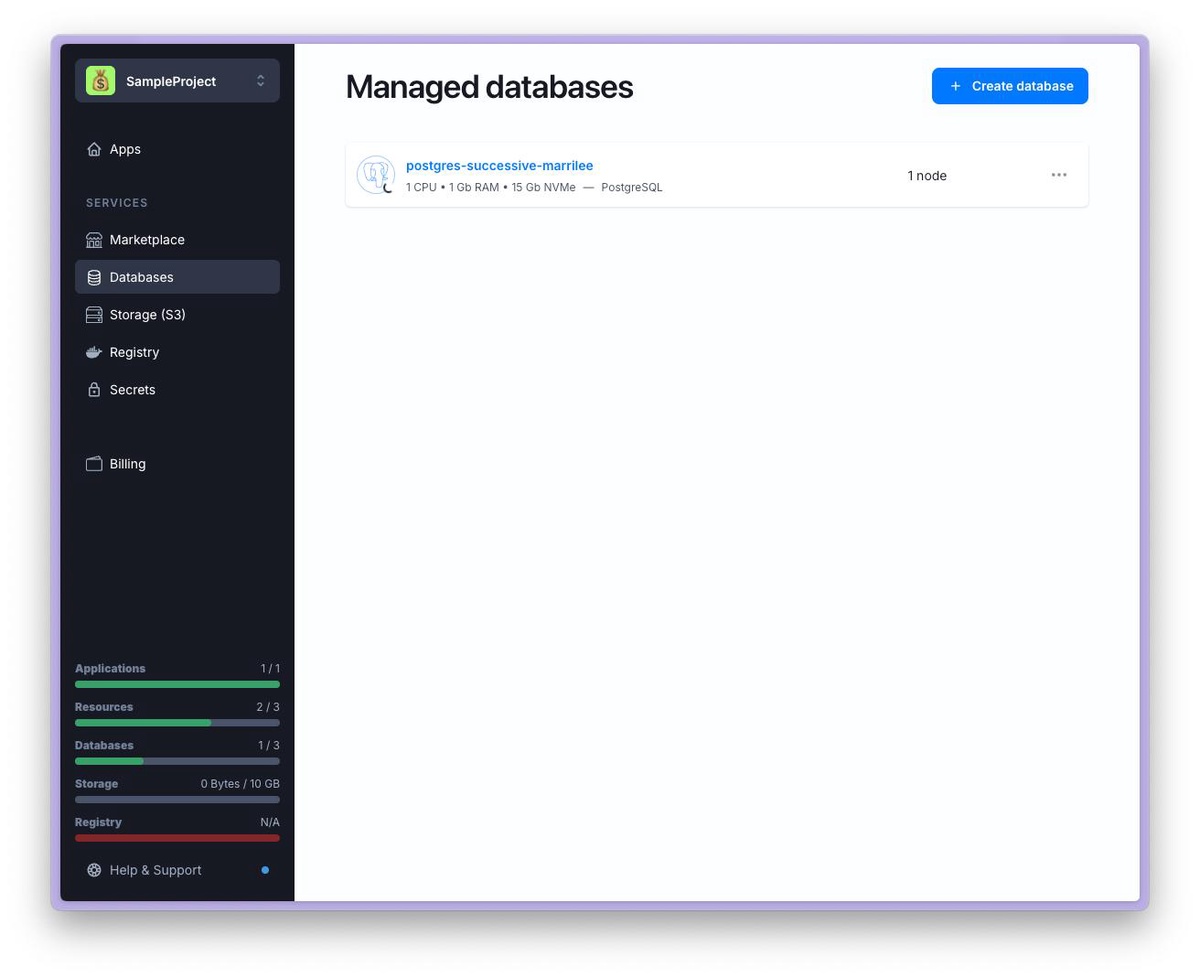
1. To create new Database, select the Databases section in the menu.
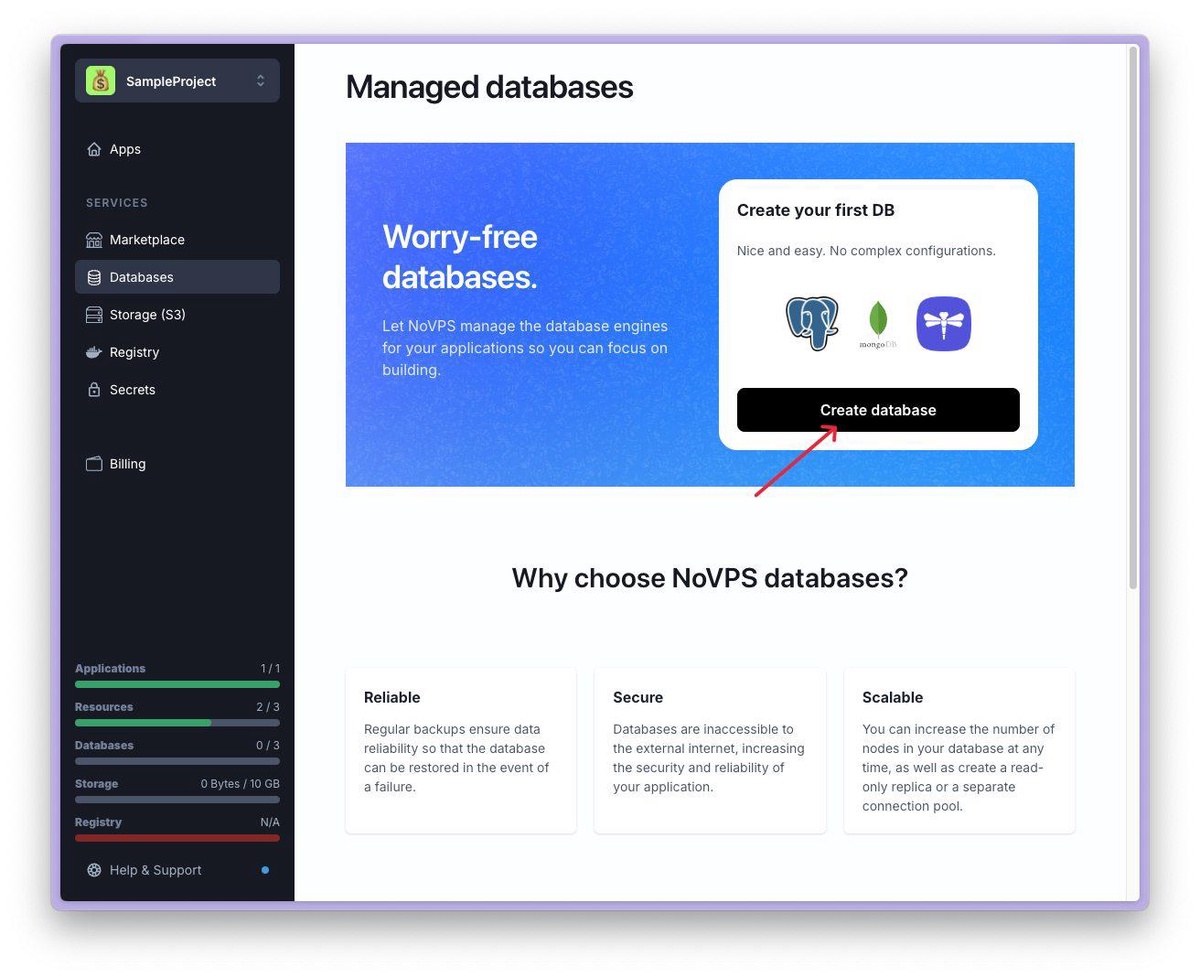
2. Then click Create database button
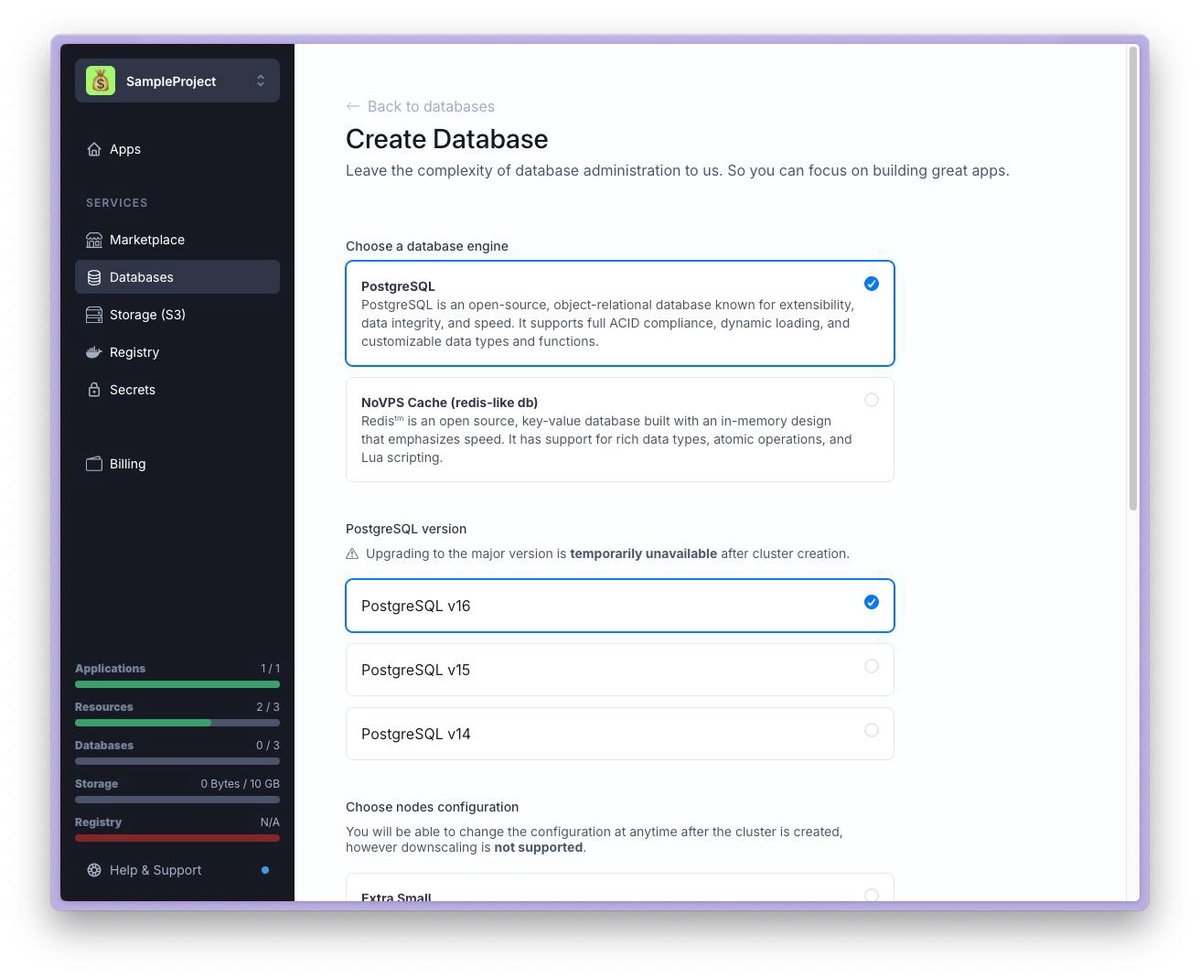
3. Select the PostgreSQL database engine and the required version. Let's assume you need version 16.
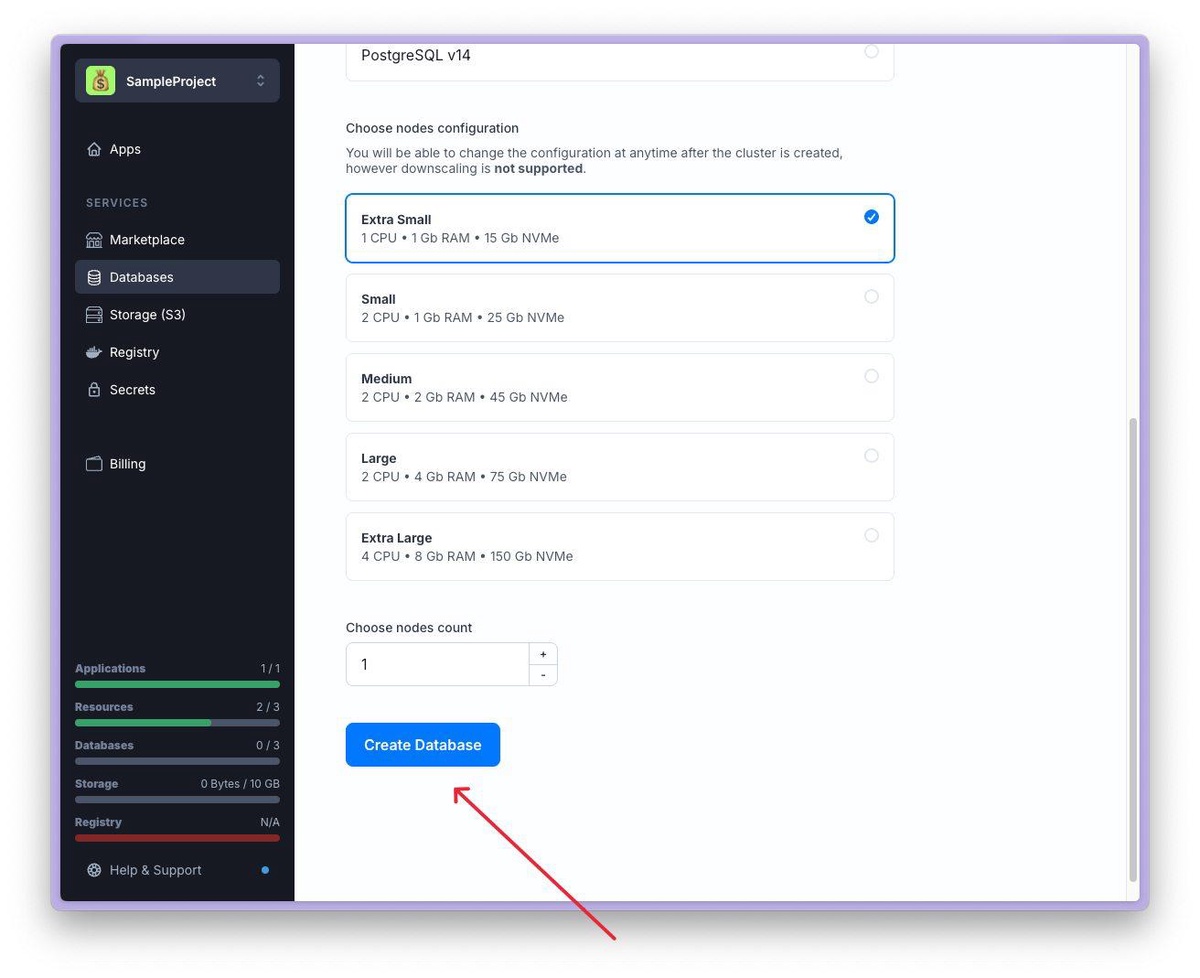
4. You also need to choose the appropriate database node configuration and number of nodes. If you are running the sample application according to our guide, the Extra Small configuration with one node will be enough.

5. Now you can confirm the creation of the database by clicking the Create Database button.
6. The new database will appear in the list. Please note that it is not yet ready to accept connections, as indicated by the spinning indicator. Depending on the database configuration, creation may take several minutes.
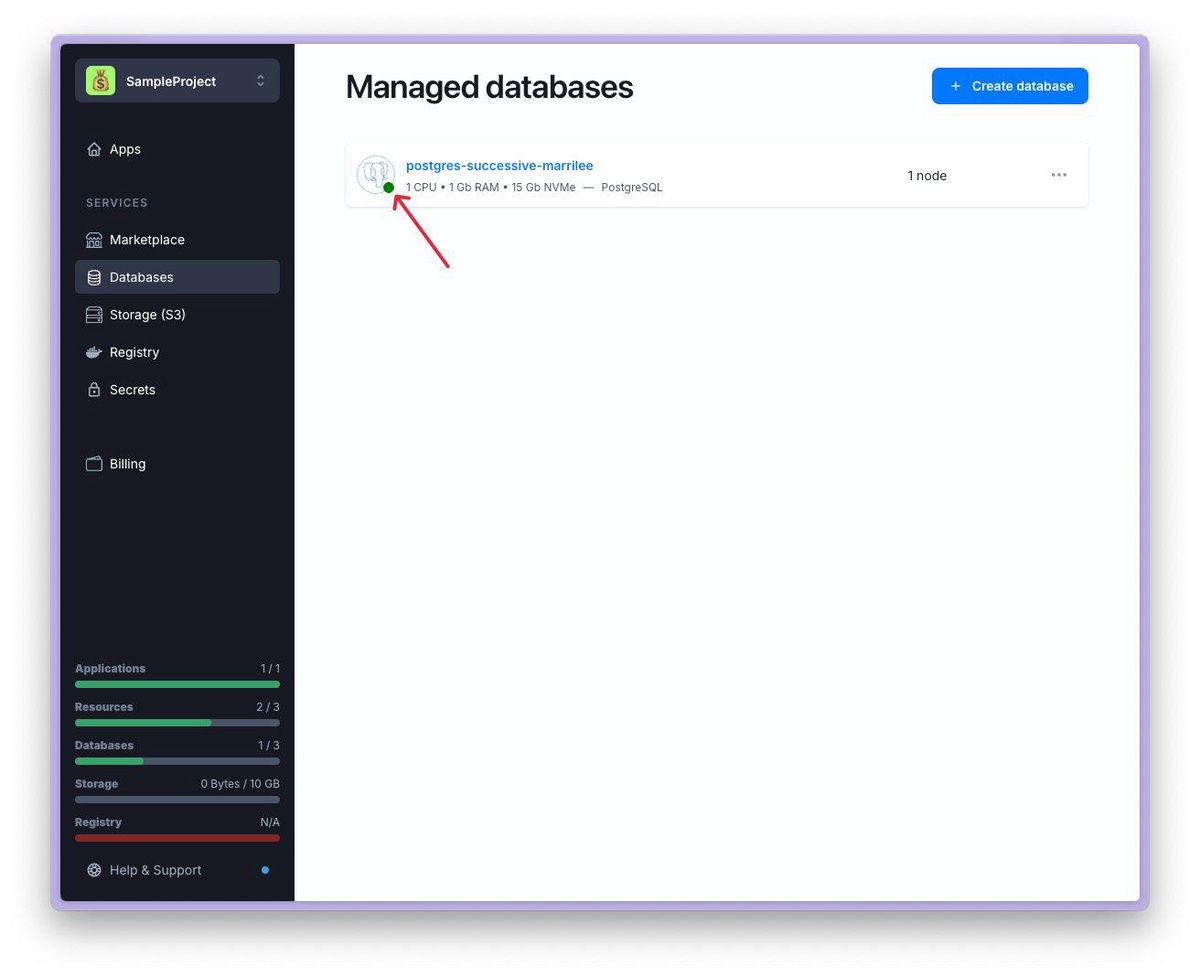
7. Once the database is available for connection, the indicator will turn green. You can now go to the database details page by clicking on its name.
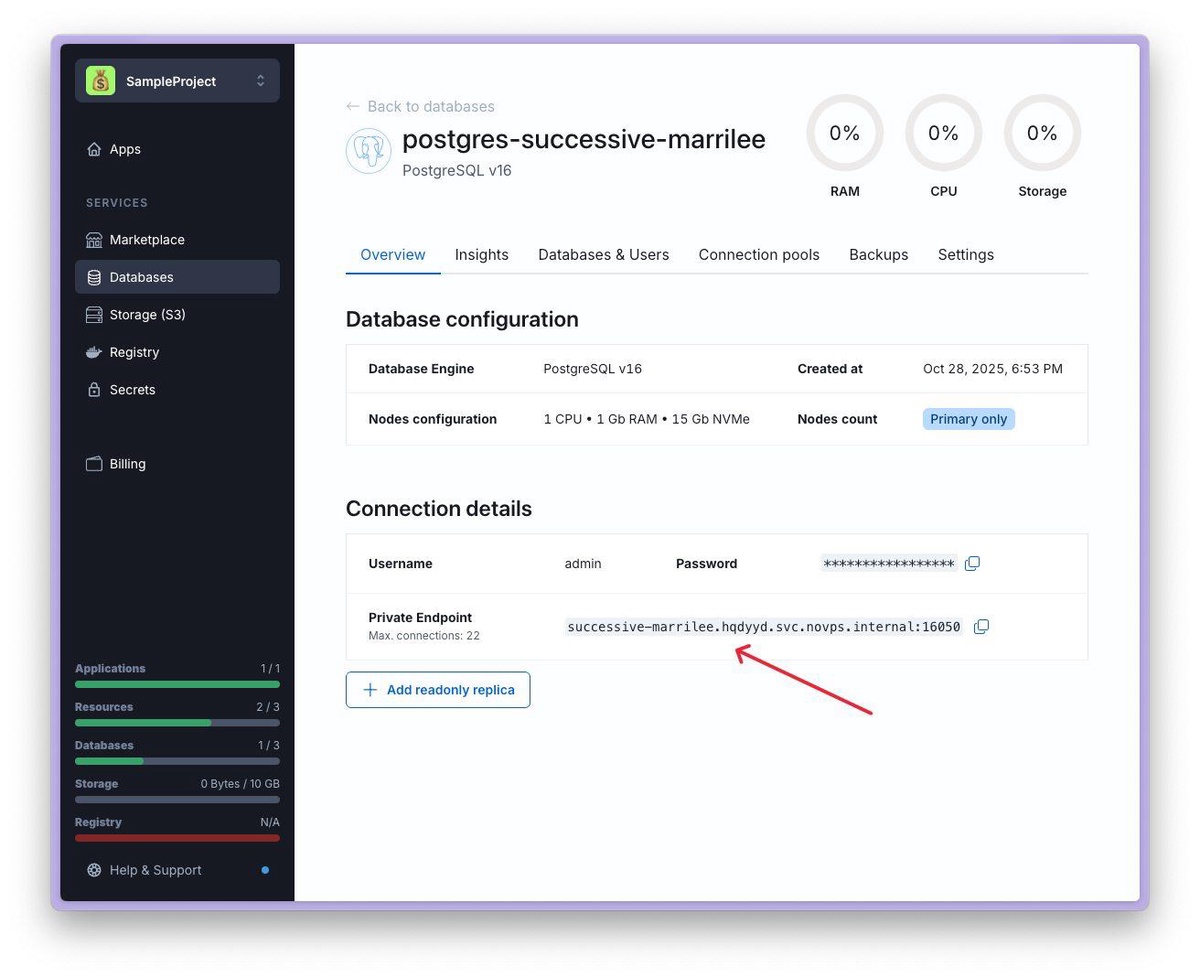
8. On the database details page, you can find the credentials to connect your application to the database.
Congratulations! Your PostgreSQL database has been successfully created and is ready to use. If you still have questions, we recommend reading the other articles and guides in our Help Center. If you have any further questions, feel free to contact our support team.